Using a Rats Nest
This section lets you become familiar with the Rats Nest feature and with how to use some of the tools in the Tool Box with the Rats Nest paths.
Lesson 1 - Making a Rats Nest
Open the Osmond document Sample2 in the usual way to reveal the setup as shown below. As you saw in the previous chapter, this design contains four resistors and two dual inline packages but has no connecting paths.

In the previous chapter you used the Choose/Connect tool to show what pins should be connected, and to connect paths between these pins. This tool can also make a Rats Nest.
From the tool palette, select the Choose/Connect tool.

Using this tool, click on the left pin of R1. You should see something like this.
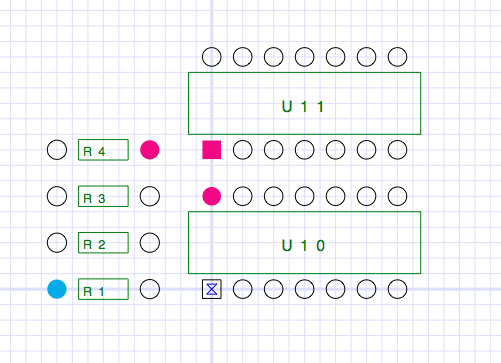
The pins in color all belong to the same signal and should be connected.
Now, using the same tool, click on the left pin of R1 while holding down the option key. You should see something like this.
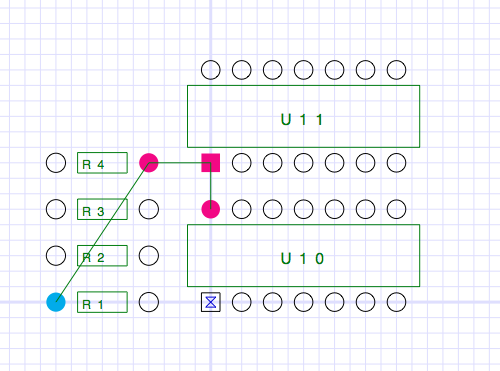
The pins have all been connected by paths on a special layer called the Rats Nest layer. Later you will see how to convert these to paths on real layers.
Similarly, click on the left pin of R4 while holding down the option key to produce this.
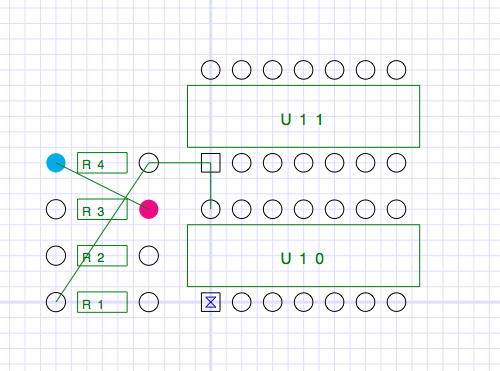
By continuing in this fashion, you can eventually produce Rats Nest paths for every signal in your design. However, there is an easier way:
In the Design menu, click on the Make Rats Nest menu item. This makes a rats nest for every signal in your design as shown below.
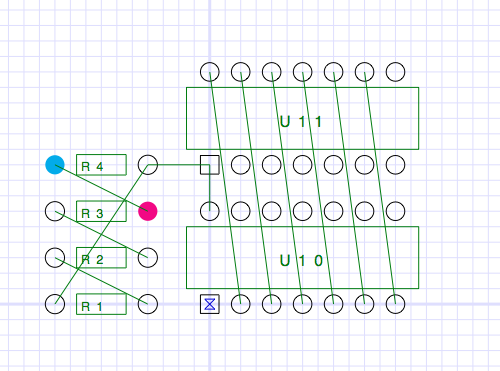
In the Design menu, the Destroy Rats Nest menu item eliminates every path connecting every signal in the Rats Nest layer.
You can also use the Make One Rats Nest menu item to make a rats nest only for the currently selected signal, and you can use the Destroy One Rats Nest menu item to eliminate all rats nest paths from the currently selected signal.
What if a signal has many rats net paths and you want to eliminate only one or two? In this case you can use the normal Cut Path tool.

Note: The Cut Path tool can be used to eliminate paths on the Rats Nest layer even if the Rats Nest layer is not the current layer.
Practice making and destroying Rats Nest paths until you are comfortable with the process. For the next lesson, however, leave all rats nest paths in place as shown above.
Lesson 2 - Using Tools with a Rats Nest
Now that we have a Rats Nest, what do we do with it?
Lets start with the simplest tool.
From the tool palette, select the Drag/Remove Pegs tool.

When you click on a Rats Nest path with this tool, the path is first automatically transferred from the Rats Nest layer to the current layer, at which time the tool's usual function starts working.
Practice using this tool on several of the Rats Nest paths. Using it on two paths, I get the following:
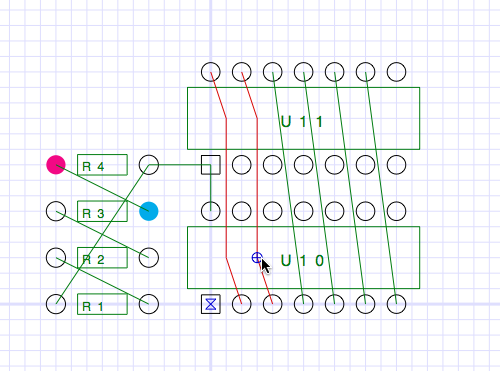
To try out another tool, let us first restore the design to the state in which all signals are connected by Rats Nest paths. We can do this by cutting (with the Cut Path tool) all paths we have modified, and then by clicking the Make Rats Nest menu item in the Design menu.
From the tool palette, select the Wrap Paths tool.
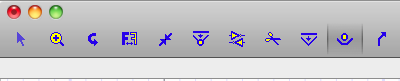
This tool is similar to the previous tool in the way it works with Rats Nest paths. When you click on a Rats Nest path with this tool, the path is first automatically transferred from the Rats Nest layer to the current layer, at which time the tool's usual function starts working.
Practice using this tool on several of the Rats Nest paths. When I try it, I get something like this:
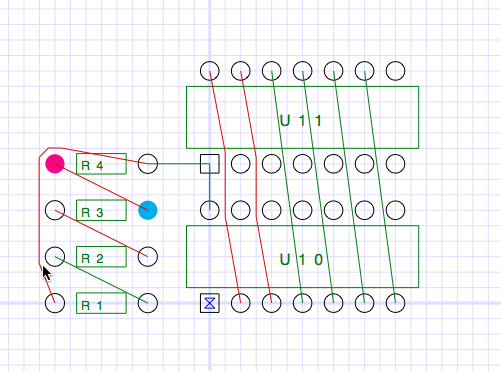
Notice that for straight paths that do not require routing, just clicking on the path is all that is required to place it on the current layer.
To try out our last tool, again restore the design to the state in which all signals are connected by Rats Nest paths.
From the tool palette, select the Quick Route tool.

You will notice that a floating window appears containing bend options as shown below. You should move this window to a convenient location.
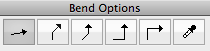
For now, we will stick with the default option.
Again, this tool is similar to the others in the way it works with Rats Nest paths. Clicking on a path with this tool first transfers the path to the current layer, at which time the tool's normal function starts working.
This tool is different from the other tools in that several mouse clicks are required to complete one operation. The first mouse click selects a path and identifies the pin nearest the click point as the starting pin. The pin at the other end of the path then becomes the end pin.
The original path is erased and a solid line extends from the starting pin to the cursor position. A dotted line extends from the cursor position to the end pin. The solid line shows where a new path segment will be drawn when you next click the mouse. When you do click the mouse, the new path segment is drawn using the color of the current layer, and a new solid line is drawn from the end of that segment to the current cursor position. In this way you define the route of the path by a series of clicks. To complete the operation, click on the end pin. If you wish to abort the operation, click on the starting pin or select a different tool from the tool palette.
Practice using this tool on several of the Rats Nest paths. When I try it, I get something like this:
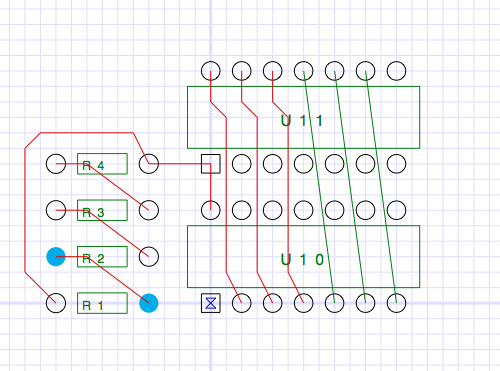
Note that you can also use this tool on paths that are not Rats Nest paths. When you do this, you can modify the path segment that you click on. If you hold down the option key, the entire path is first erased.
The other bend options allow you to place constraints on how the path is routed.
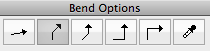
This option, for example, requires paths to first extend in a vertical or horizontal direction followed by a diagonal direction where the angle of the diagonal is 45 degrees.
Practice using the tool with this option on paths in your design, even on paths already on the current layer. When I try it, I can get something like this:
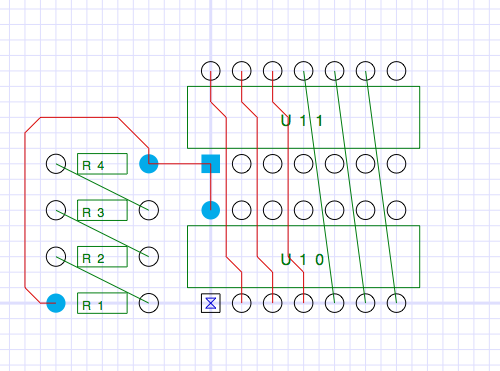
The other bend options are similar. The third option requires paths to extend first in a diagonal direction followed by a horizontal or vertical direction.
The fourth option requires paths to extend first in a horizontal direction followed by a vertical direction while the fifth option requires paths to extend first in a vertical direction followed by a horizontal direction.
Practice with these various options until you are comfortable with their use.
The sixth option lets you sample the pattern of bends from an existing trace so you can then apply that same pattern to other traces. Of course, this works only if the spacing of end points of the new trace matches the spacing of end points in the sampled trace. However, one often finds this situation in practice, especially when routing bus signals.
To see this in action, let us start with a fresh rats nest as shown below.
Using one of the normal bend options, route the first long trace between U10 and U11 as shown.
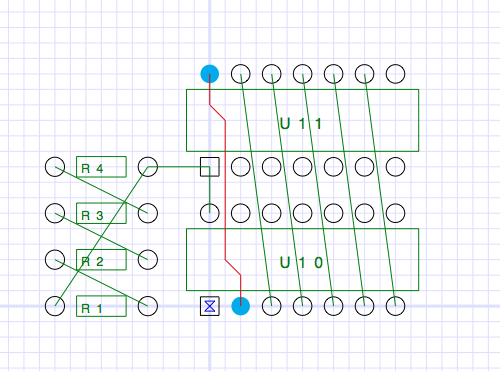
Now, select the sample pattern option as shown below.
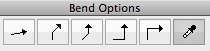
Now sample the pattern of the trace you routed by clicking on the trace while holding down the shift key. You will notice that the cursor changes to a dropper while the shift key is depressed. Release the shift key when you are done.
Now click on the other long traces between U10 and U11. You should get something like this.
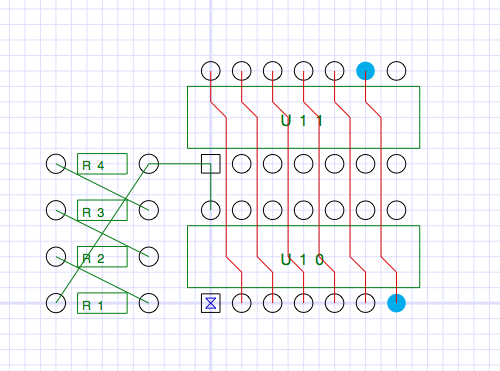
If you click on any of the shorter traces nothing happens since the spacing of the end points of the shorter traces do not match the spacing of the end points of the sampled trace.
In Conclusion
As you can see, routing can be accomplished using a variety of tools and options. Feel free to use whichever methods works best for you.